
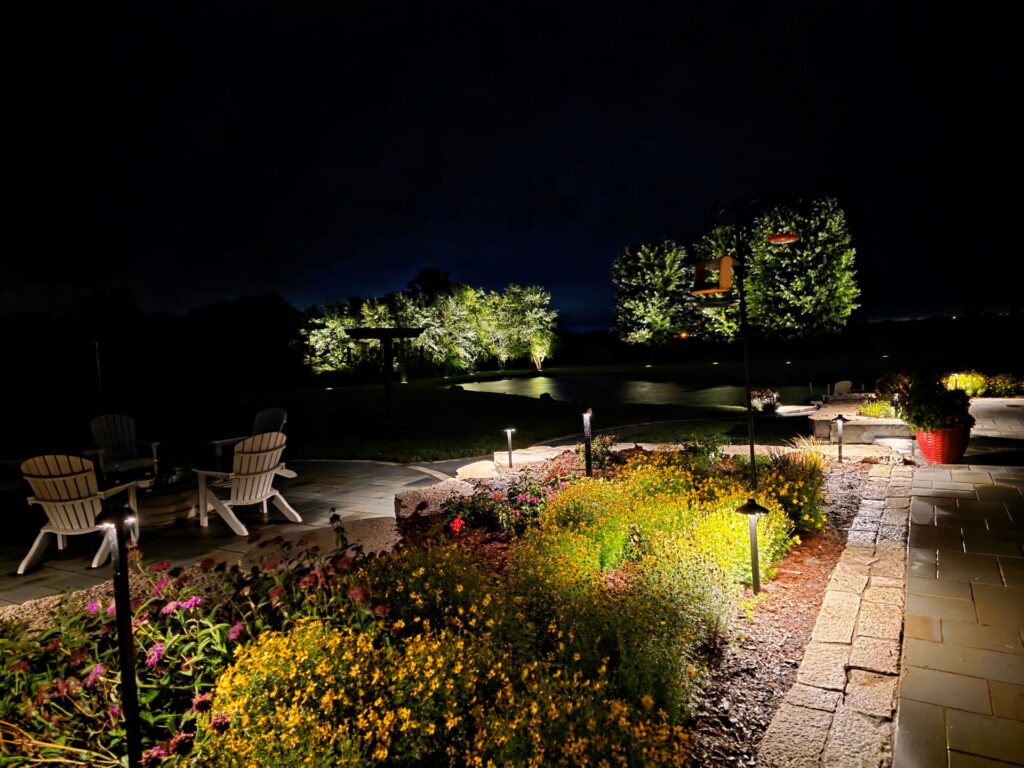
Light Your Winter Paths Before Ice Takes Over
Pathway lighting in Waukesha has to do more than look pretty. In winter, it needs to help people see ice, find edges, and avoid hidden steps under fresh snow. When the first real freeze hits, it gets dark before many people are home, and a simple walk from the driveway to the front door can feel risky.
Snowbanks hide curbs, ice blends into dark spots, and a single bright porch light can turn everything into glare. Winter is different from summer lighting because snow and ice change how light behaves. Smart pathway lighting acts like a winter safety system, built for low sun angles, reflective snow, and long dark evenings.
At Rocket Lighting, we work with homes and businesses across Southeast Wisconsin, so we see these problems up close every year. We design outdoor lighting systems that are tested in real Waukesha winters, not just on warm summer nights. Let us walk through how height, beam spread, and placement can work together to keep your paths safer when the snow piles up.
How Waukesha Winters Distort Nighttime Visibility
Winter changes how your eyes and your lights work together. Clean snow can bounce light straight back at you, so your eyes squeeze down and see less detail. Ice creates tiny pinpoints of glare that pull your focus away from the path. Old, dirty snowbanks soak up light, so areas that look bright from a distance can feel dim once you are walking through them.
Early sunsets around the holidays mean kids, guests, and pets are all coming and going in darkness or low light. Long twilight periods can trick your timing too. Lights that were set for fall often turn on too late in deep winter, leaving driveways, walks, and steps in the dark during the busiest hours.
Many homeowners make a few common lighting mistakes in winter:
- Relying on one very bright wall light near the front door
- Placing short path lights where they sit under six inches of snow
- Forgetting how high plows and shovels will pile snowbanks along the walk
- Using summertime layouts that ignore ice-prone corners and slope changes
When snow reshapes your yard, the old pattern of light and shadow changes too. Pathway lighting that works in July can suddenly leave dark pockets, harsh glare, and hidden ice in January.
Fixture Height That Works With Snow, Not Against It
Standard path lights often sit around 18 to 20 inches tall. In a Waukesha winter, that means they can be buried, blocked by snow piles, or blasted by the snowblower. If your fixtures vanish under snow, they are not helping anyone find safe footing.
A smarter plan is to match fixture height to how snow actually builds up on your property:
- Use slightly taller fixtures or risers in high-drift zones
- Vary heights along long walks so light stays above average snow depth
- Mount some lights on steps, seat walls, or other hardscape where snow is thinner
Height is not only about clearing snow. It also affects safety and durability. Fixtures that sit right in the shovel path get kicked, hit, or twisted all winter. We aim to place lights just outside the normal shovel and plow lines, while still keeping the beam on the walkway.
Good winter fixtures are built to take a hit from snow, ice, and salt. We look for sturdy construction, sealed lenses, and posts or mounts that stay stable when the ground freezes and thaws. When the height and placement work with your snow patterns, your paths stay visible through more storms.
Beam Spread and Color That Cut Through Snow Glare
Beam spread is how wide the light opens up from the fixture. A narrow beam makes a bright hotspot, like a flashlight. A wide beam spreads the light out, giving softer, more even coverage. On snow and ice, these two styles behave very differently.
Tight, narrow beams can create sharp bright spots next to very dark areas. On a snowy path, that strong contrast makes it hard for your eyes to read surface changes. Ice patches often sit right in the shadow line, where they are hardest to see. For winter pathway lighting in Waukesha, we usually aim for wider, overlapping beams that:
- Soften the contrast between bright and dark areas
- Fill in the small pockets where ice likes to form
- Help your eyes adjust more easily as you walk
Color temperature also matters. Super cool, bluish white light can feel harsh on snow and can make glare worse. A slightly warmer white is easier on the eyes and still gives crisp detail on steps, edges, and icy spots.
Brightness needs balance too. Too dim and you miss ice. Too bright and everything turns into a white blur. We often recommend:
- Enough lumens to clearly see texture in concrete and pavers
- Light levels that allow you to see beyond the first snowbank
- Dimming or control options so you can adjust from fresh, bright snow to late-season, dirty piles
Smart Placement Tactics for Snowbanks and Ice Patches
Where you place pathway lights in winter can matter as much as what you install. Good winter placement starts with how people actually move through your space. We look for the spots where people slow down, step up, turn, or cross.
Key placement strategies for snowy Waukesha paths include:
- Setting fixtures back from shovel lines so they do not get buried or hit
- Aiming lights across the walkway at a low angle, not straight down from above
- Focusing extra light on step edges, curves, and where the driveway meets the walk
Snowbanks are another big factor. Plows and shovels tend to push snow to the same general spots every storm. We plan for those piles:
- Keeping fixtures on the side less likely to get the tallest banks
- Using cross-lighting from both sides of a path when possible, so if one side is buried, the other still covers the walkway
- Placing lights slightly higher or on solid features in heavy pile zones
To help reveal ice, we like low grazing angles, where the light skims across the surface instead of hitting it straight on. This makes the sheen of ice stand out from dry concrete or pavers. Layered lighting near garage doors, steps, and main entries helps guide guests from the street or driveway to the front door, even in a heavy snow year.
Seasonal Strategies for Reliable Winter Performance
Good pathway lighting in Waukesha is not a one-time project. It needs a little seasonal care to keep performing when snow and ice move in. Before winter, it helps to walk the property after dark and make simple checks.
A basic pre-winter lighting checklist includes:
- Confirming fixture aim after summer plant growth
- Adjusting timers or smart controls for earlier sunsets
- Checking lenses for cracks, clouding, or moisture
- Clearing plants or decor that block beams along the walk
Design choices can also make winter maintenance easier. We like fixtures you can brush off with a gloved hand, wiring paths that stay out of shovel zones, and permanent LED systems that keep shining long after cheap solar stakes have failed.
At Rocket Lighting, we focus on outdoor lighting built for Southeast Wisconsin, including Waukesha’s mix of wind, drifting snow, and freeze-thaw cycles. By planning fixture height, beam spread, and placement around real winter conditions, we help homeowners and businesses keep their paths clearer, safer, and more welcoming through the longest, darkest months.
Brighten Your Paths With Expert Local Lighting Design
If you are ready to upgrade safety and curb appeal around your property, our team can design and install tailored pathway lighting in Waukesha that fits your goals and budget. At Rocket Lighting, we focus on durable, energy-efficient fixtures that look great and perform reliably through every season. Tell us about your project and we will recommend a clear, step-by-step plan. Have questions or need a quote today? Simply contact us to get started.